POWERFUL TEXT WRAP PORTRAIT EFFECT IN PHOTOSHOP | TEXT EFFECT | PHOTOSHOP TUTORIAL
- Deep Shah
- Dec 3, 2019
- 3 min read

Updated: Nov 6, 2022
Learn how to create this powerful text wrap portrait effect in Photoshop . Creating such effect might look a bit difficult but it is not so just follow the steps mentioned below and learn how to create it for yourself . So let's get started!

Download Photoshop :- https://prf.hn/l/OVRDLJm
Equipment I use :-
Primary Laptop :- https://amzn.to/3BLqADZ
Secondary Laptop :- https://amzn.to/3wryYWo
Mouse :- https://amzn.to/3zsnuCH
Original Image Download Link :- https://pixabay.com/photos/luck-pair-happy-couple-emotion-4279432/
Font Download Link :- https://fontsdata.com/142966/gabriola.htm
Steps to Install Font in Photoshop :- https://www.photoshop-tutorial.com/post/how-to-add-fonts-to-photoshop
Final Image PSD Download Link :- https://drive.google.com/open?id=1ezew7kCvi43ScOoLxk0oXK_9mMrwHgMV
Displacment Map PSD Download Link :- https://drive.google.com/open?id=1oG-QHgDInZwQ7hz8-Q4ohA-Ie_dugYTu
Youtube Video :-
Steps on how to create this Powerful text wrap effect in Photoshop :-
So the first step is to remove the background from the image and replace it with a plain background , so for that you will have to unlock the background by double clicking on the lock icon and then click on OK in the pop up

Now select the subject in the Image using Quick selection tool (Note : While selection press ALT and click and hover over the part to deselect a selection )


Then after the selection click on Refine edge and then using brush click and hover over the hair and edges to get the smooth and perfect selection of hair and edges and click on OK


After that click on Add layer mask icon which will remove the background from the image keeping only selection

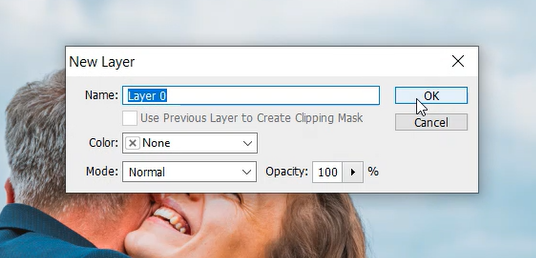
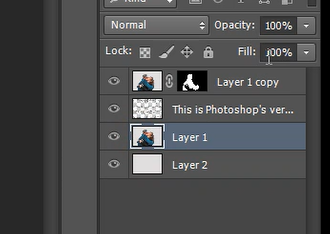
Then create a new layer by clicking on Create new layer icon


After that drag the newly created layer at the bottom

Now select paint bucket tool and then set the foreground as the color you want to give for your background and then using bucket tool click on the image which will fill the layer with that color


Now press CTRL + SHIFT + E to merge all the layers into a single layer

Then click on Create new fill or adjustment layer icon and select Black & White over there

Now set the sliders in the pop up according to your image so that you get an image with high contrast

Then go to Filter and then blur and then select Gaussian blur over there and then in the pop up set the radius as 0.7 px and then click on OK


Now this file as a PSD file by giving it any name of your choice


After that press CTRL + Z twice to remove blur and Black & White filter and get back the original image

Now press CTRL + J to create a duplicate of this image

Now using Quick selection tool select the subject in the image over which you don't want any text ,so for this image I don't want any text over this man so I will make a selection of it

Then click on Add layer mask icon which will mask the image according to the selection


Now make original image layer active by clicking on it

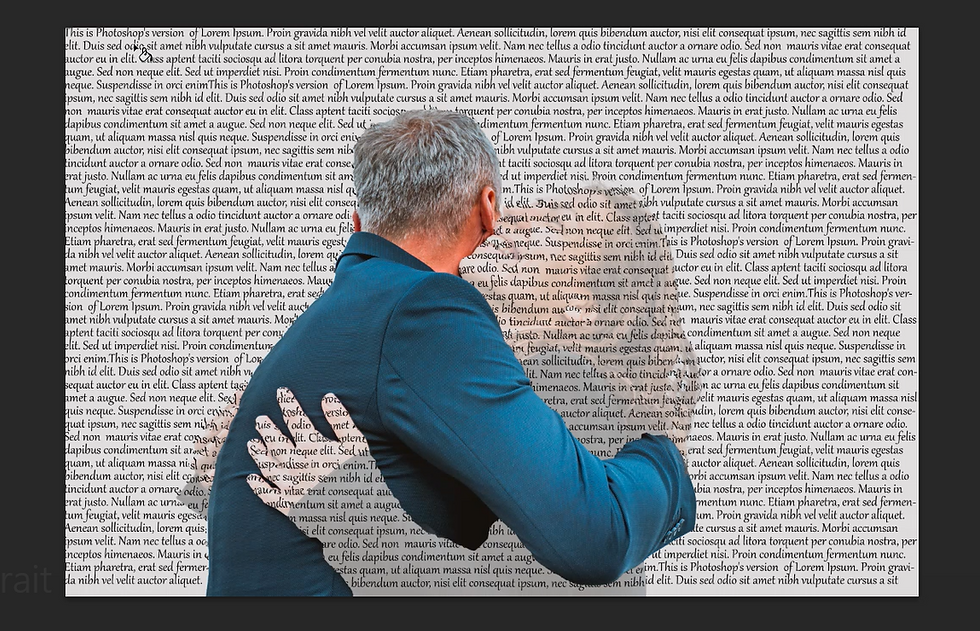
Now select Horizontal text tool and then set the foreground color as black which will be the background color and then select any font of your choice and set it's appropriate size


Then create a text area which covers the whole image

After that click on Type and select Paste Lorem Ipsun over there


So like this way fill the whole text area

Now if you want to change the spacing between the letters or spacing between lines then press CTRL + A to select the whole text and then click on properties tab and then set the spacing over there accordingly and then click on tick icon


Now go to Filter and then distort and then select Displace over there and then click OK in the pop up and then in the next pop up set the following and then click OK


After that select the PSD file which you had saved earlier over here and then click on Open , so this will wrap the text according to the image


Now again create a new layer and then drag that layer at the bottom

Now fill that layer with the background color used earlier using paint bucket tool

Now make the original image layer active by clicking on it and then reduce the opacity of the layer to 35%

Now using Quick selection tool select the subject in the image where text is there so over here I will be selecting lady


Now make the text layer active by clicking on it

Then press CTRL + J to create a duplicate of text in the form selection

Now reduce the opacity of the layer accordingly so this will give you your final Powerful text wrap portrait effect in Photoshop

So that's it guys!
Now if you guys liked the tutorial then hit the like button also share it to the ones who might be interested in such tutorials!
So happy learning!
Youtube Video :-
Related Tutorial :-
Bend 3D Text Effect in Photoshop :- https://www.photoshop-tutorial.com/post/bend-3d-text-effect-in-photoshop
Smoke Text Effect in Photoshop :- https://www.photoshop-tutorial.com/post/bend-3d-text-effect-in-photoshop
Powder Blast Text Effect in Photoshop :- https://www.photoshop-tutorial.com/post/powder-blast-text-effect-in-photoshop
Transparent Text Effect in Photoshop :- https://www.photoshop-tutorial.com/post/transparent-text-effect-in-photoshop
Creative Text Inside Image in Photoshop :- https://www.photoshop-tutorial.com/post/creative-image-inside-text-effect


Comments